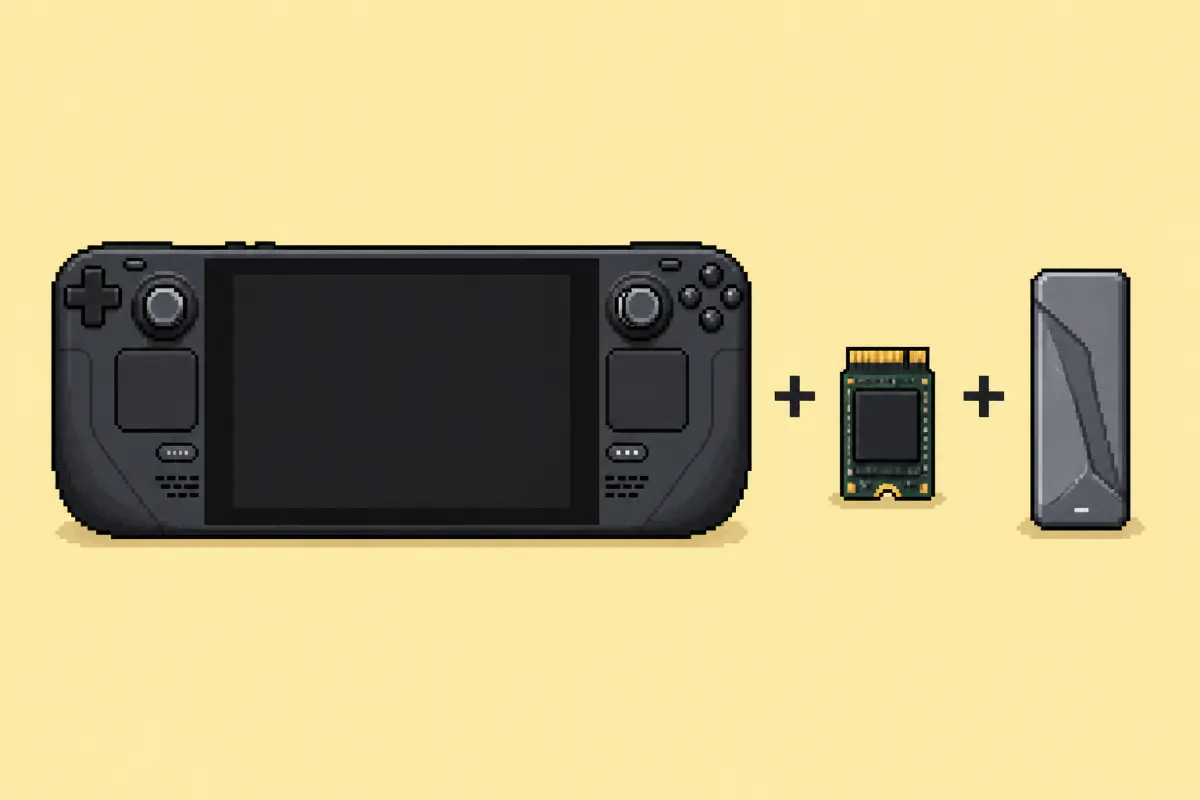
When the Steam Deck came out, I had pre-ordered the 256 GB variant. I soon discovered that it held roughly three games.
My first answer was not one large drive, but many 256 GB SD cards. It worked well for a while. The problem was no longer storage; it was remembering which game lived on which card. The little stack beside the Deck became a physical game library, complete with the old ritual of hunting for the right volume. It was tedious, although I am still very happy with how well that solution worked.
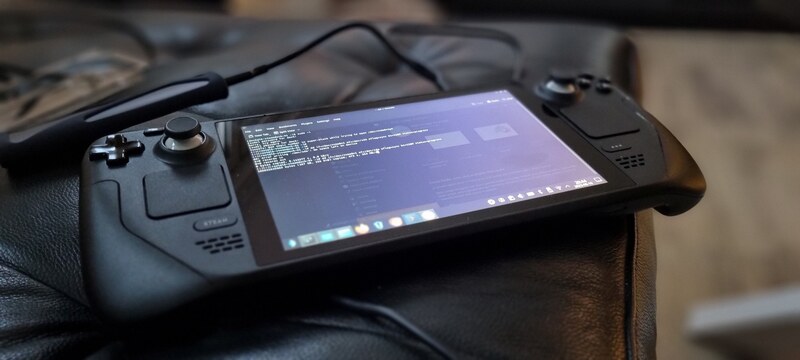
Then the market finally matured. A 1 TB SSD small enough for the Steam Deck no longer cost an unreasonable amount, and the upgrade began to make sense. Not as a clean installation, and not as an excuse to rebuild everything, but as a transplant: the same SteamOS installation, the same games and settings, with room to breathe.
That was the red thread through the whole job. I did not want a different Steam Deck. I wanted the one I already had, only bigger.
Why I chose dd
I read about several approaches. Some used Valve’s recovery image; others performed a complete reinstall. I wanted the most direct route: put the new drive in a USB enclosure and clone the old drive onto it using the Steam Deck itself.
That makes dd a good fit. It copies the entire device block by block, including the GPT partition table, SteamOS partitions, the home partition, installed games and boot data. It is blunt, quiet and absolutely literal.
It is also unforgiving. Reverse if= and of= and dd will faithfully overwrite the wrong disk without asking. The command is not the dangerous part; guessing the device names is.
This article records the live-clone method that worked for my Steam Deck. Copying a mounted system is less consistent than cloning it from a separate recovery environment because files can change during the copy. Back up irreplaceable saves and files first, close every application, and leave the Deck completely alone while
ddruns. If you want the cleanest possible source state, use Valve’s SteamOS recovery environment instead.
What I used
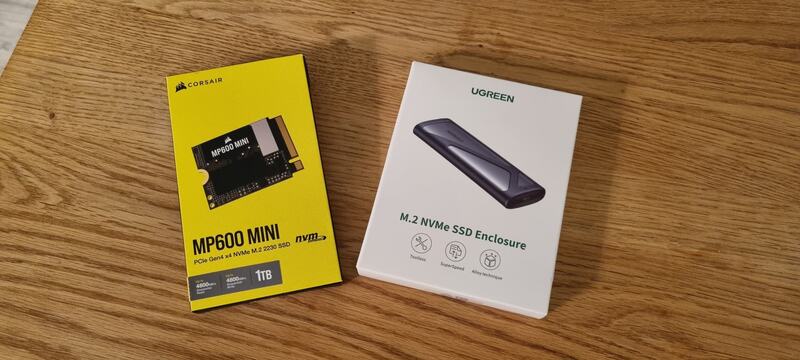
- An NVMe USB enclosure. This connects the replacement SSD to the Steam Deck during the clone.
- A suitable 1 TB SSD. The Deck uses a single-sided M.2 2230 drive; the drive shown below is a Corsair MP600 Mini. Check the requirements for your exact model before buying.
- A sudo password for the
deckuser. In Desktop Mode, open Konsole and runpasswdif you have not set one. - Enough power and time. Use a charged Deck or a powered USB-C hub that can run the enclosure and charge the Deck at the same time.
- The right screwdrivers and a plastic opening pick. The internal layout differs between LCD revisions and the OLED model, so use the matching repair guide.
That is the whole shopping list. One small drive, one enclosure and a command old enough to have earned both respect and suspicion.
Step 1: Prepare the old drive
Before cloning, I let Steam finish downloads and updates, checked that important saves were synchronized or backed up, and restarted the Deck. Then I switched to Desktop Mode and closed Steam and every other application I could.
The destination must be at least as large as the source device. Two drives sold with the same nominal capacity can differ slightly in their exact byte count, so do not assume that a label such as “1 TB” is enough.
Insert the new SSD into the enclosure, connect it to the Deck and do not format it when the desktop offers to help.
Step 2: Identify source and destination
Open Konsole and inspect the physical disks:
lsblk -d -o NAME,PATH,SIZE,MODEL,SERIAL,TRAN
lsblk -o NAME,SIZE,TYPE,FSTYPE,MOUNTPOINTS
findmnt /
On my Deck, the internal SSD was /dev/nvme0n1 and the drive in the USB-C enclosure was /dev/sda. Those names are examples, not promises. Read the model, serial number, size, transport and mount points on your own machine.
The findmnt / result should point back to a partition on the internal NVMe device. The external disk should report usb in the TRAN column. If Dolphin mounted any partitions from the new SSD, unmount them with its eject button before continuing.
Check the exact byte sizes as a final guardrail:
sudo blockdev --getsize64 /dev/nvme0n1
sudo blockdev --getsize64 /dev/sda
The second number must be equal to or greater than the first. Stop if the identity or size of either disk is unclear. This is the moment when caution is cheap.
Step 3: Clone the disk
The command I originally used was:
sudo dd if=/dev/nvme0n1 of=/dev/sda oflag=sync bs=128M status=progress
That worked and did exactly what I needed. Broken down:
if=/dev/nvme0n1selects the internal Steam Deck SSD as the input.of=/dev/sdaselects the new SSD in the USB enclosure as the output.bs=128Mcopies in large blocks.status=progressprints the number of bytes copied while the command runs.oflag=syncmakes output writes synchronous. It does not compare the two drives or certify that they are equal.
Today I would use this small variation:
sudo dd if=/dev/nvme0n1 of=/dev/sda bs=128M status=progress conv=fsync
conv=fsync flushes the output data before dd exits without forcing every individual write to be synchronous. Either way, the crucial part is still the direction: internal drive after if=, external drive after of=.
Once the copy begins, do not launch games, install updates, let the Deck sleep or disconnect the enclosure. status=progress can appear to pause while data is still being flushed. Wait until the command returns to the shell prompt.
Then ask the kernel to flush anything still buffered and inspect the clone:
sync
sudo fdisk -l /dev/sda
lsblk -f /dev/sda
You should see a partition layout on the external disk corresponding to the internal SteamOS drive. A byte-for-byte comparison against a live source is not useful here: the running source can change after its blocks were copied.
Step 4: Perform the physical swap
Shut the Steam Deck down completely. Do not merely suspend it. Then unplug the enclosure.
Before opening the case, remove the microSD card. A card left in the slot can snap when the back cover comes away. Keep track of every screw because the case screws are not all interchangeable.
The safe sequence is:
- Put the Deck into battery storage mode if available, shut it down and remove the back cover.
- Disconnect the battery before touching the SSD.
- Remove the motherboard shield required to reach the drive.
- Remove the SSD retaining screw and slide the old drive out at a shallow angle.
- Transfer the foil shielding sleeve to the new SSD, insert it fully and reinstall the retaining screw.
- Reconnect the battery, replace the shield and close the case without forcing any clips or screws.
Rather than improvise around different internal revisions, follow the illustrated guide for your hardware. The iFixit Steam Deck LCD SSD guide identifies the original and refreshed LCD layouts; OLED owners should use the separate OLED guide linked there.
Step 5: First boot and verification
Connect the charger and start the Deck. The first boot can take longer than usual, so give it time before deciding that something failed.
Once SteamOS is running, return to Desktop Mode and check both the physical drive and the usable home filesystem:
lsblk -o NAME,SIZE,FSTYPE,MOUNTPOINTS
df -h /home
The internal disk should now report the new capacity, and /home should have the extra usable space. If the Deck does not boot, or the cloned partitions do not grow to use the larger device, keep the original SSD untouched. It is both the rollback and the known-good copy. Reinstall it, confirm the Deck still boots, and use Valve’s recovery tools rather than experimenting on the only copy of your data.
The old 256 GB drive can stay safe until the new one has survived updates, reboots and a few launched games. Only then is the migration really finished.
Gaming big
Three games slept in a crowded hall, while worlds waited beyond the wall. Small cards carried a scattered sky, each one asking: Which game am I?
Then one bright terabyte took the load: one library, one familiar road. The Deck stayed mine, its memory grew: same little machine, more worlds to move through.
The result was exactly what I wanted: no clean slate, no afternoon spent rebuilding a familiar system, and no more card catalogue beside the sofa. Just my Steam Deck, with the same history and a much larger horizon.
Buy Me a Coffee