Ode to the Air That Whispers Clean
The air we breathe, unseen, unfelt, Yet harbors tales our lungs have knelt. With dust it dances, sly and sly, A breathless threat beneath the sky. But I, equipped with code and steel, Command the breeze, the filters kneel. Where silence once let pollen in, Now hums the heart of Uppåtvind.
My apartment was already full of sensors. They watched temperature, humidity and air quality, quietly feeding information into a home that could react to what was happening inside it.
Then I bought an IKEA UPPÅTVIND air purifier for 349 kr.
It was small, affordable and perfectly capable of moving air through a filter. It also had no interest in the rest of my home. There was no network connection, no automation and no way for an air-quality sensor in another room to ask it for help. It had one button, and that button cycled through OFF, LOW, MEDIUM and HIGH.
That simplicity was part of its appeal, but it also made the purifier an underdog. Around it, other devices could respond to presence, schedules and changing conditions. The UPPÅTVIND could only wait for a finger.
I took that as a challenge.
It was not about buying a more expensive purifier with an app. I already had a useful machine in front of me. What it lacked was a way to listen, and I had a workbench full of ways to give it one.
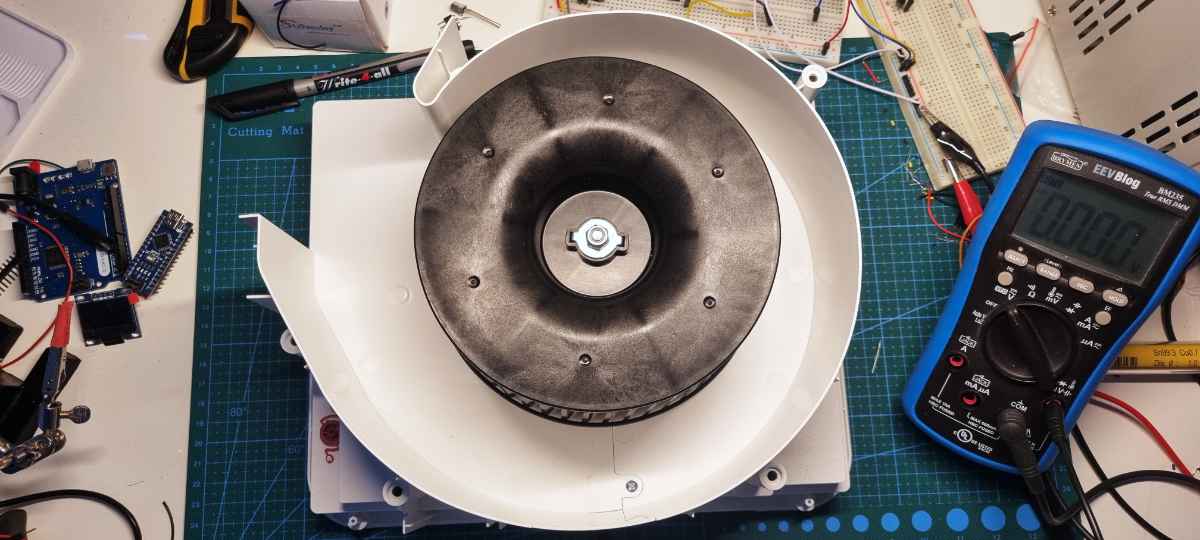
Only a few hours after bringing it home, I had taken it apart. The purifier sat open on my cutting mat while I moved between a multimeter, a soldering iron and the exposed circuit board. Somewhere on that board were the signals behind its one button and its status light. If I could understand those signals, a Wemos D1 mini running ESPHome could join the conversation.
The first breakthrough was finding the test points. One could imitate a press of the mode button. Another reached the filter-reset button. The status LED used different brightness levels for the different fan speeds, so its signal could tell the Wemos whether the purifier was off or running at low, medium or high speed.
The machine already knew what it was doing. I did not need to replace its brain. I only needed to let another small board press its buttons and read its light.
Power demanded more caution. There was a 5 V supply on the purifier’s board, and using it would have been convenient. The regulator was marked TEDRA, however, and I could not find reliable specifications for it. Similar components were rated around 150 to 200 mA, while a Wemos D1 mini can approach 180 mA during Wi-Fi activity. I had not measured how much current the purifier’s own electronics already needed.
It was too close for comfort. Instead of asking an unknown regulator to do more than it was designed for, I stepped the purifier’s 24 V supply down through a separate buck converter.
Then came the part where the underdog changed sides. The ESPHome configuration appeared in Home Assistant. I could choose a speed, reset the filter indicator and see which mode the purifier was actually using. More importantly, it could finally act on the information my home already had.
It became controlled by my presence, by readings from my VINDRIKTNING air-quality sensor and by whether my robot vacuum was cleaning. The purifier itself had not become more powerful. It had become aware of the world around it.
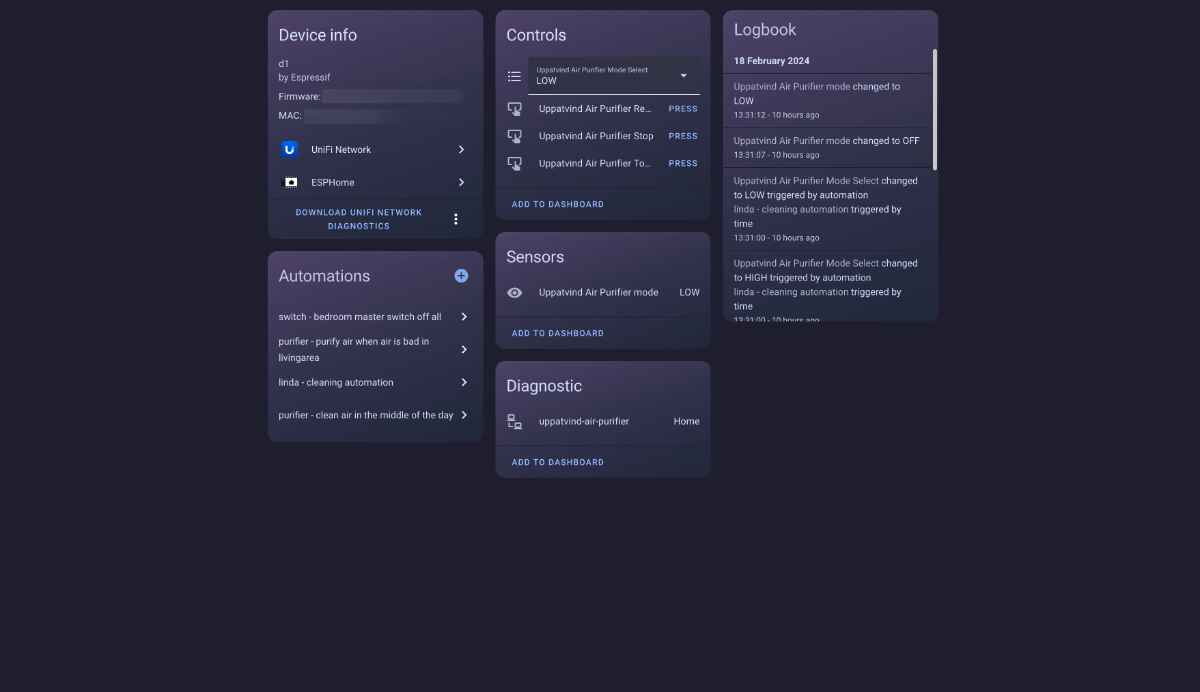
There was something satisfying about that result. The small, inexpensive device had started as the one that could do the least. A few wires and some patient probing did not turn it into a luxury appliance. They did something better: they let a simple machine take part in a larger idea.
The technical how-to
This is the hardware path and the core ESPHome configuration I used. The complete ESPHome configuration contains the globals and scripts that tie these excerpts together.
Disconnect the purifier from power before opening it or soldering. Verify every rail with a multimeter rather than assuming that another hardware revision uses the same test points or voltages. This modification can damage the purifier or attached electronics if wired incorrectly.
This article preserves the wiring and configuration I used, but direct connection is not automatically safe for every revision. The purifier’s control signals may be 5 V, while Espressif specifies 3.6 V as the ESP8266 GPIO limit. Measure TP4, TP5 and TP7 first. If a signal can exceed 3.6 V, use an appropriate level shifter, transistor interface or voltage divider. Check the input range of the exact Wemos board before connecting TP7 to A0.
Finding the pinout
Understanding the circuitry was the first real milestone. After probing the board, I identified these connections between the UPPÅTVIND and the Wemos D1 mini:
| Test Point (TP) | Connection | Purpose |
|---|---|---|
| TP11 | 24 V | Main power input from purifier to buck converter |
| TP5 | D2 (GPIO5) | Filter reset button |
| TP2 | GND | Ground |
| TP3 | 5 V | Onboard output, left unused due to limited known headroom |
| TP4 | D1 (GPIO4) | Mode toggle button |
| TP7 | A0 | Status LED reading (PWM signal) |
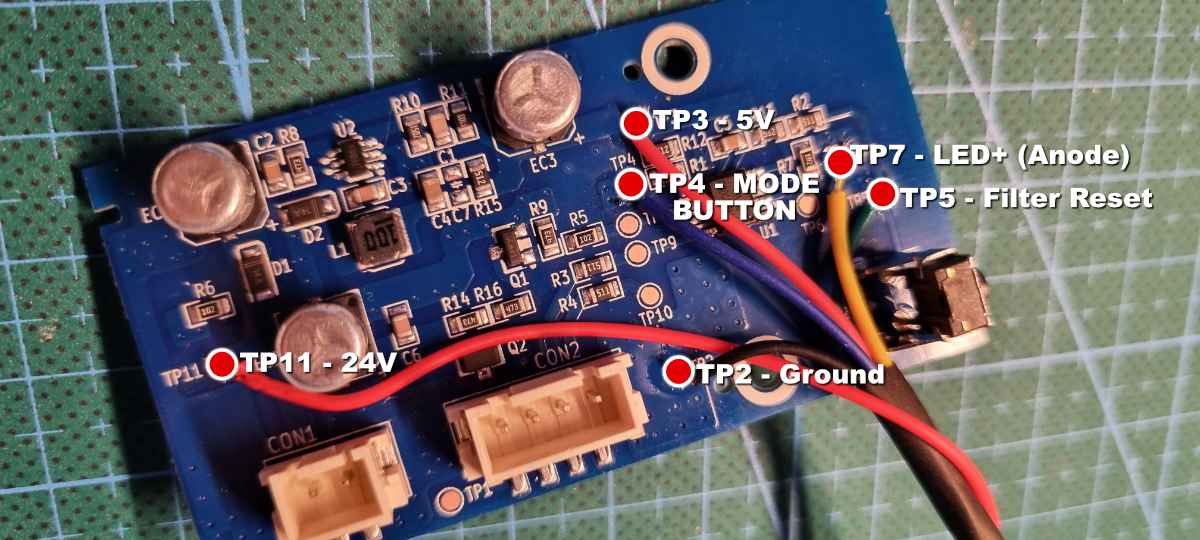
TP3 exposed 5 V, but I left it unused. The unidentified onboard regulator offered too little known headroom for the Wemos, especially during Wi-Fi activity.
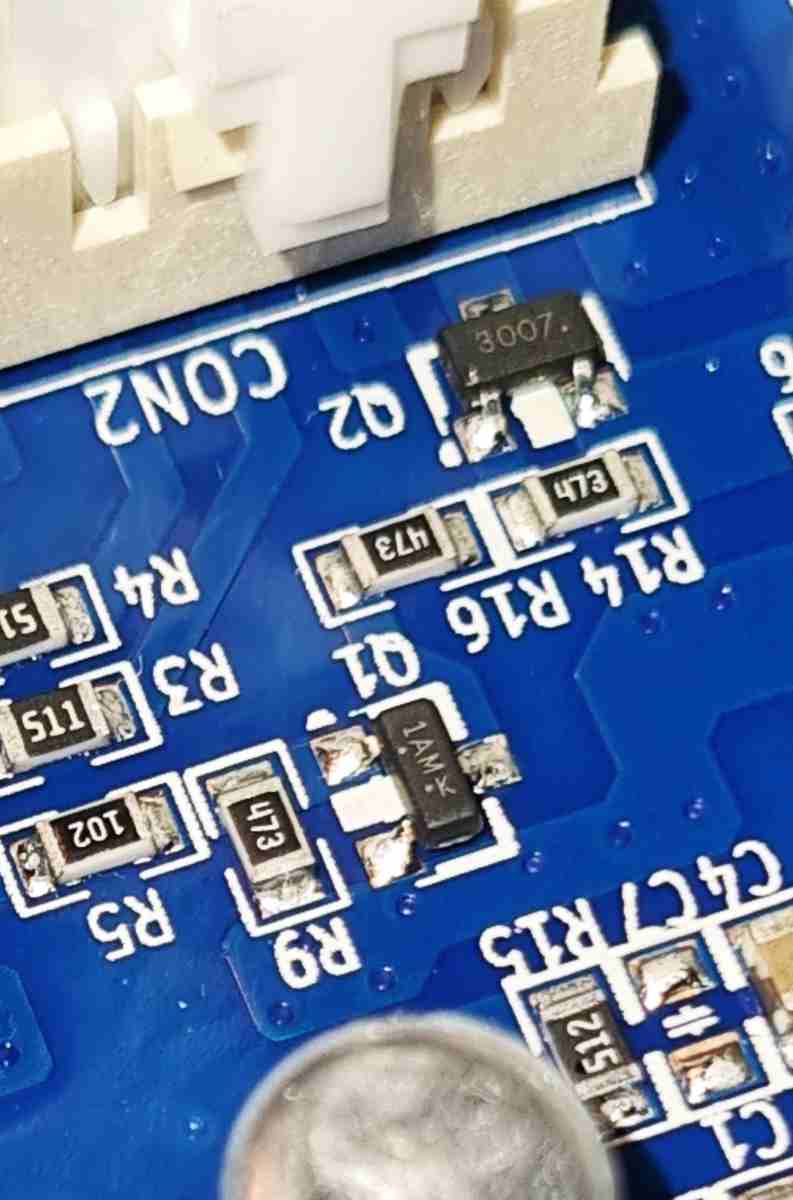
TP11 instead fed a separate buck converter, which stepped 24 V down to 5 V for the Wemos. Set and verify the converter’s output before connecting the Wemos.
Simulating the buttons
The two GPIO outputs represent the physical mode and filter-reset buttons:
output:
  - platform: gpio
    pin: 4
    id: btn_mode
  - platform: gpio
    pin: 5
    id: btn_reset_filter

button:
  - platform: output
    name: '$name Toggle Mode'
    output: btn_mode
    id: btn_toggle
    duration: 100ms

  - platform: output
    name: '$name Reset Filter'
    output: btn_reset_filter
    duration: 100ms

  - platform: output
    name: '$name Stop'
    id: btn_stop
    output: btn_mode
    duration: 2000ms
The mode selector maps Home Assistant’s requested state to an index. A script in the complete configuration then presses the physical mode input until the measured state reaches that target:
select:
  - platform: template
    id: mode_select
    name: '$name Mode Select'
    options:
      - 'OFF'
      - 'LOW'
      - 'MEDIUM'
      - 'HIGH'
    optimistic: true
    on_value:
      then:
        - lambda: |-
            if (x == "OFF") {
              id(target_mode_index) = 0;
            } else if (x == "LOW") {
              id(target_mode_index) = 1;
            } else if (x == "MEDIUM") {
              id(target_mode_index) = 2;
            } else if (x == "HIGH") {
              id(target_mode_index) = 3;
            }
            id(initiate_mode_change).execute();
Reading the purifier’s state
TP7 carries the PWM signal that drives the status LED. I connected it to A0 and used a capacitor to smooth the signal. The ADC value could then be compared with the readings I observed for each brightness level:
sensor:
  - platform: adc
    pin: A0
    id: mode_pin
    update_interval: 0.25s
    accuracy_decimals: 0
    unit_of_measurement: ''
    filters:
      - multiply: 100000
      - max:
          window_size: 3
          send_every: 3
          send_first_at: 1
      - or:
          - delta: 0.5
          - throttle: 60s
    on_value:
      then:
        - lambda: |-
            float voltage = id(mode_pin).state;
            if (voltage >= id(voltage_high) - 1000 && voltage <= id(voltage_high) + 1000) {
              id(current_mode_index) = 3;
            } else if (voltage >= id(voltage_medium) - 1000 && voltage <= id(voltage_medium) + 1000) {
              id(current_mode_index) = 2;
            } else if (voltage >= id(voltage_low) - 1000 && voltage <= id(voltage_low) + 1000) {
              id(current_mode_index) = 1;
            } else if (voltage <= id(voltage_off)) {
              id(current_mode_index) = 0;
            }
The threshold values in my complete configuration came from my purifier. They should be treated as calibration values, not universal constants. Measure the readings for off, low, medium and high on the actual device before relying on them.
Once the reported state and button control agreed, Home Assistant could treat the UPPÅTVIND like any other participant in the home. That was the final step: connect its new controls to the air-quality, presence and robot-vacuum automations that gave the project a reason to exist.
Buy Me a Coffee